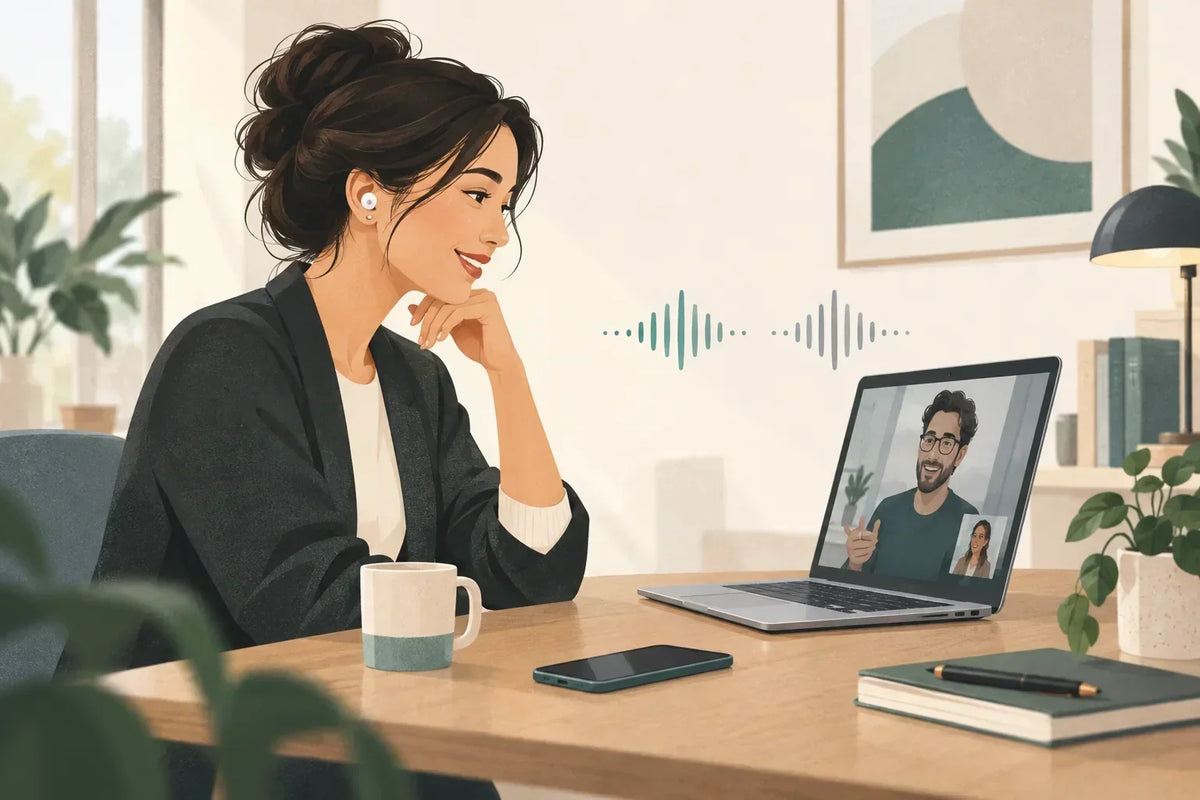
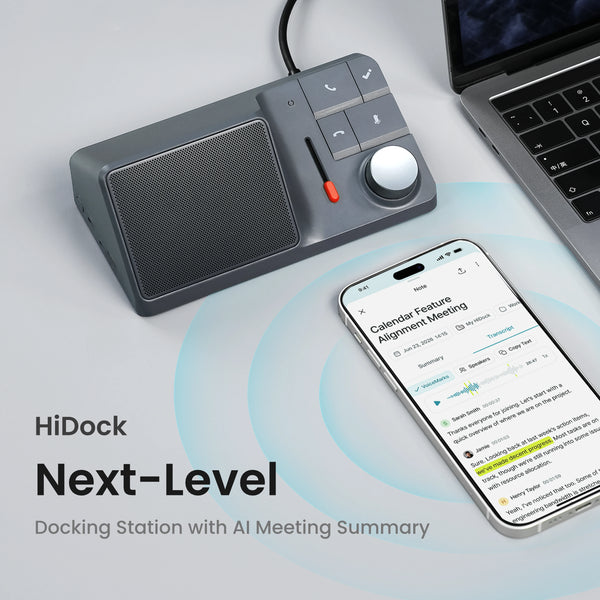

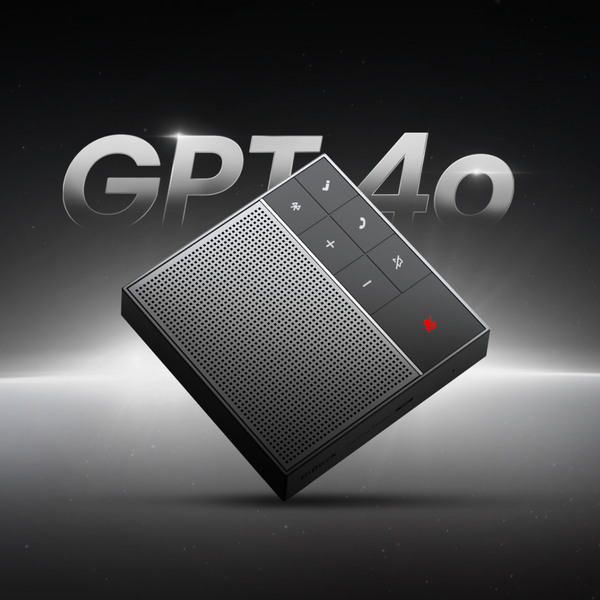

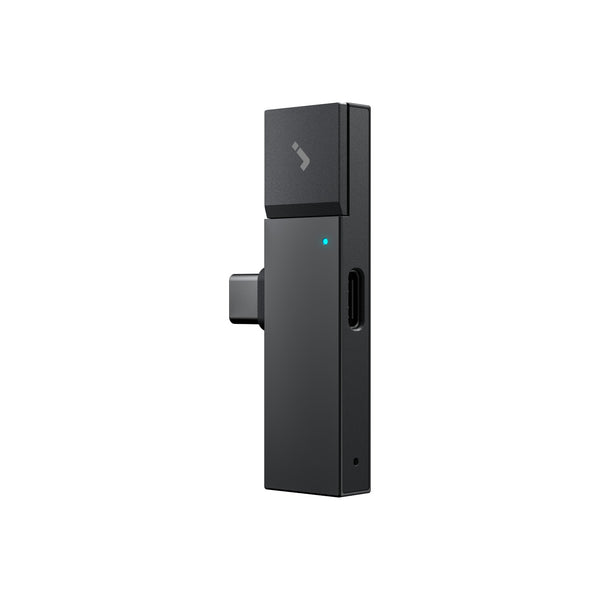

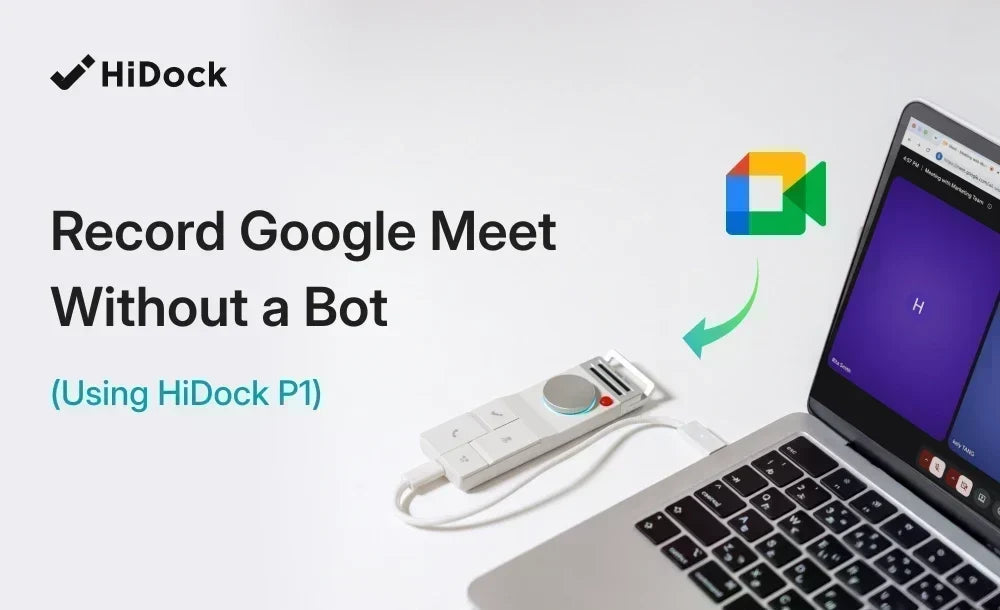
HiDock P1 captures Google Meet audio locally without joining the meeting as a bot. This guide explains how to connect it, verify the audio path, record reliably, and upload the file to HiNotes for transcription. Before recording, let participants know and follow your organization's meeting policies.
How P1 Records Google Meet Audio
Google Meet has a built-in recording feature that stores recordings in the meeting organizer's Google Drive and notifies participants when recording starts or stops. Availability depends on the account edition, administrator settings, host permissions, and meeting role. Eligible plans include certain Google Workspace editions, Workspace Individual, and Google One plans with 2 TB or more of storage.

HiDock P1 takes a different approach. It connects to your computer via USB-C and becomes the audio device Meet routes through. When you pair your Bluetooth earphones to P1 via BlueCatch™ rather than to your computer, P1 captures what you hear through those earphones and what you say into the earphone microphone — combining both into a single local recording on the device. Nothing joins the call as a participant.
P1 gives you direct control over a local recording while you use Meet as usual. Before you start, let participants know and follow your organization's meeting policy.
The key differences from Meet's native recording:
- No automatic Google Meet recording notice is triggered by P1 — participants do not see a Meet recording indicator as a result of the device.
- P1 operates independently of Meet’s native recording-role requirements. Participant disclosure, organizational policy, and any required consent still apply.
- Works on free Google accounts — not restricted to Workspace plans
- Works beyond Meet — the same device records phone calls in Call Mode and in-person conversations in Room Mode, with the same free transcription
- AI transcription included free — unlimited, in 75 languages, for the life of the device
No automatic Google Meet recording notice is triggered by P1. That also means disclosure is your responsibility — you must still follow your organization's recording policies, platform rules, and any applicable laws. Using hardware rather than a bot does not change those obligations.

What You Need
- A HiDock P1
- The P1 USB-C cable
- A Windows or Mac computer with a USB-C port
- Bluetooth earphones (AirPods, Sony, or any compatible Bluetooth earphones)
- Google Meet open in Chrome or Edge
- A HiNotes account at hinotes.hidock.com
- Participant disclosure and any consent required by applicable law, organizational policy, or meeting rules.
Connection and Setup
Step 1 — Connect HiDock P1 to Your Computer
Plug the P1 into your computer's USB-C port using the supplied cable. The LED on the device will light up, confirming it is powered. No driver installation is required on Mac or Windows.
Step 2 — Pair Your Bluetooth Earphones to P1 via BlueCatch™
For BlueCatch™ to capture both sides of the call, your Bluetooth earphones must be paired directly to the P1 — not to your computer.
First-time setup:
- Open HiNotes at hinotes.hidock.com in Chrome or Edge.
- In HiNotes, go to Device → Configuration → BlueCatch → Scan.
- Put your earphones into pairing mode
- Select them from the list to pair them to the P1.
Success indicators: the earphone name appears in the BlueCatch device list, and the P1 Power LED turns blue.
Once paired, your earphones reconnect to P1 automatically the next time it is powered on. If they reconnect to your computer instead, briefly press the BlueCatch™ button on the P1 to switch them back.

Step 3 — Select HiDock P1 as Your Google Meet Audio Device
Google Meet gives you two ways to set the audio device — use whichever applies to your situation:
Before joining a meeting: At the bottom of the preview tile, click the dropdown arrow next to the microphone icon and select HiDock P1. Do the same for the speaker. To test, click Microphone and speak — if the mic bar moves, your mic is working. Click Speaker → Test speakers to confirm audio is routing through the device.
During a live meeting: Click More options (⋯) → Settings → Audio. Change both Microphone and Speakers to HiDock P1.
This step is essential. If Meet uses the laptop microphone or laptop speakers rather than routing through P1, BlueCatch™ cannot capture both sides of the conversation.

How to Test Before Your Meeting
Before any important call, run a quick check:
- Use Meet's preview tile test: click the dropdown next to the mic icon, select HiDock P1, and speak — the mic bar should move.
- Click Speaker → Test speakers — you should hear the test sound through your Bluetooth earphones, not the laptop speakers.
- On P1, press and hold the HiDock Key for 3 seconds — the LED turns Cyan.
- Speak briefly, then press and hold again to stop, and check the recording in HiNotes to confirm both sides are captured.
If some audio is missing, first check whether the earphones are connected to your computer rather than P1. Re-pair through HiNotes → Configurations → BlueCatch.
Recording, Uploading, and Transcribing
Step 4 — Inform Participants and Start Recording
Before recording, clearly inform participants and obtain any consent required by applicable law, organizational policy, or meeting rules. Do not start until any required consent has been obtained.
Press and hold the HiDock Key on the P1 for 3 seconds to start recording. The LED turns Cyan to confirm recording is active.
Step 5 — Use VoiceMark During the Meeting
Press the HiDock Key once to drop a VoiceMark — a timestamped bookmark. Use it whenever a key decision, action item, or commitment comes up. VoiceMarks surface in HiNotes after processing so you can jump directly to flagged moments.
Step 6 — Stop Recording and Sync to HiNotes
Press and hold the HiDock Key to stop recording. Transfer to HiNotes — either via Auto Transfer or manually through Files → Transfer. Once it appears in Notes, click Generate Transcript & Summary. After processing, HiNotes delivers a transcript in any of 75 supported languages, an AI-generated summary, and extracted action items.
Every HiDock P1 purchase includes the HiNotes Member plan free — unlimited AI transcription and summaries with no monthly cap, for the life of the device. HiNotes Pro adds speaker identification, export to Notion and Google Docs, and additional formats. See hinotes.hidock.com for current plan pricing.
Comparison: HiDock P1 vs. Google Meet Native Recording
| HiDock P1 | Meet native recording | |
|---|---|---|
| Recording notification shown to participants | No | Yes |
| Requires host or co-host | No | Yes — in most Workspace configurations |
| Joins call as a participant | No | No |
| Available on free Google accounts | Yes | No — native recording requires an eligible paid plan |
| Storage | Local — on device (~1,000 hours) | Meeting organizer's Google Drive |
| AI transcription | Free, unlimited, 75 languages | Available natively on eligible Workspace editions, subject to administrator settings and meeting role |
| Speaker identification | HiNotes Pro (optional) | Attribution behaviour is not specified in Google's official help pages |
Privacy and Compliance
Inform participants before recording and obtain any consent required by your location, your organization's policies, and the meeting rules.
Common Setup Problems
HiDock P1 does not appear in Meet's audio device list
If HiDock P1 is not immediately listed in Meet, confirm that it is connected by USB-C. In Chrome, click View site information in the address bar and confirm Microphone is set to Allow. Reconnect P1, then reload the Meet tab. On Mac, check System Settings → Privacy & Security → Microphone and confirm Chrome has access.
Only one side of the call is being recorded
For a clear two-way recording, pair your Bluetooth earphones directly with P1 through HiNotes → P1 Configurations → BlueCatch™.
This lets BlueCatch™ capture both your voice and the meeting audio.
Audio plays through the laptop instead of earphones
To keep meeting audio in your earphones, select HiDock P1 as the Speaker in Meet's audio settings and confirm that BlueCatch™ is connected. You can also check that your operating system has not selected another output device.
The audio device dropdown is missing or limited in Meet
If Meet shows fewer audio choices than expected, open the meeting in Chrome or Edge for the most complete device controls.
HiNotes does not load correctly
For a smooth browser-based HiNotes setup, open hinotes.hidock.com in Chrome or Edge. HiNotes is also available on iOS and Android.
Frequently Asked Questions
Does this work with a free Google account?
Yes. P1 works with both standard free and paid Google accounts, so you can use the same local-recording workflow regardless of account type.
Will other participants know I am recording?
No automatic Google Meet recording notice is triggered by P1 — the recording happens on the device, not through Meet's own recording feature. You are responsible for informing participants yourself before recording begins.
Does this work on Mac?
Yes. The core workflow is the same on Mac and Windows. On Mac, confirm Chrome has microphone access in System Settings → Privacy & Security → Microphone.
Can I record Google Meet on my phone using P1?
Yes. P1 connects to USB-C phones, including iPhone 15 or later and compatible USB-C Android devices. Pair your earphones through BlueCatch™, then confirm that Meet routes call audio through P1. For a smooth first use, make a short practice recording before an important call.
Can I use Meet's live captions alongside P1 recording?
Yes. Meet's live captions and HiDock P1 recording operate independently and do not conflict.
Does P1 work in the browser version of Meet?
Yes — Meet runs in the browser, and P1 appears as an audio device in Chrome and Edge. For the most reliable audio device selection, use Chrome. If the device dropdown appears limited, reload the tab after connecting P1.
Summary
Recording a Google Meet with HiDock P1 takes six steps: connect P1 via USB-C → pair Bluetooth earphones through BlueCatch™ → select P1 as both the Meet microphone and speaker → inform participants → press and hold the HiDock Key to record → sync to HiNotes after the meeting.P1 records locally.
No automatic Google Meet recording notice is triggered by P1, and the workflow is available on free Google accounts. P1 operates independently of Meet’s native recording-role requirements; participant disclosure, organizational policy, and any required consent still apply. After the meeting, HiNotes generates a full transcript and AI summary — free, unlimited, and in any of 75 supported languages — for the life of the device.
The same device also records phone calls and in-person conversations. See how the workflow compares in the Zoom recording guide and the Teams recording guide.