



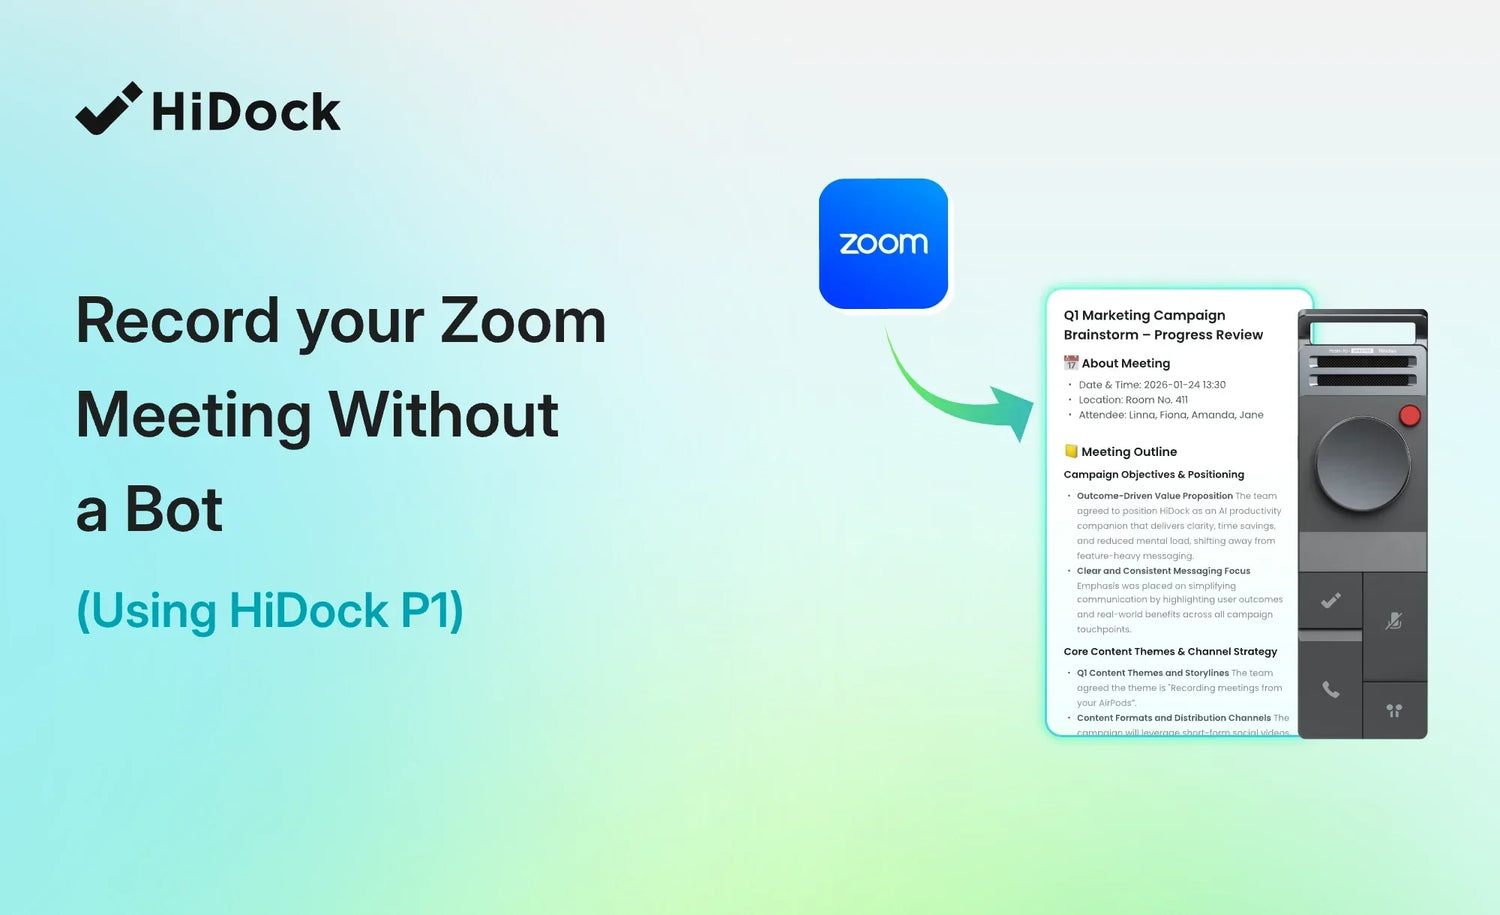
AI meeting assistants can automatically transcribe conversations and generate summaries, but many work by joining your Zoom call as an additional participant.
That can create friction. The bot may need to be admitted from the waiting room, appear beside your clients in the participant list, or conflict with an organization’s meeting policies.
You can record a Zoom meeting without a bot by using a hardware-based workflow instead.
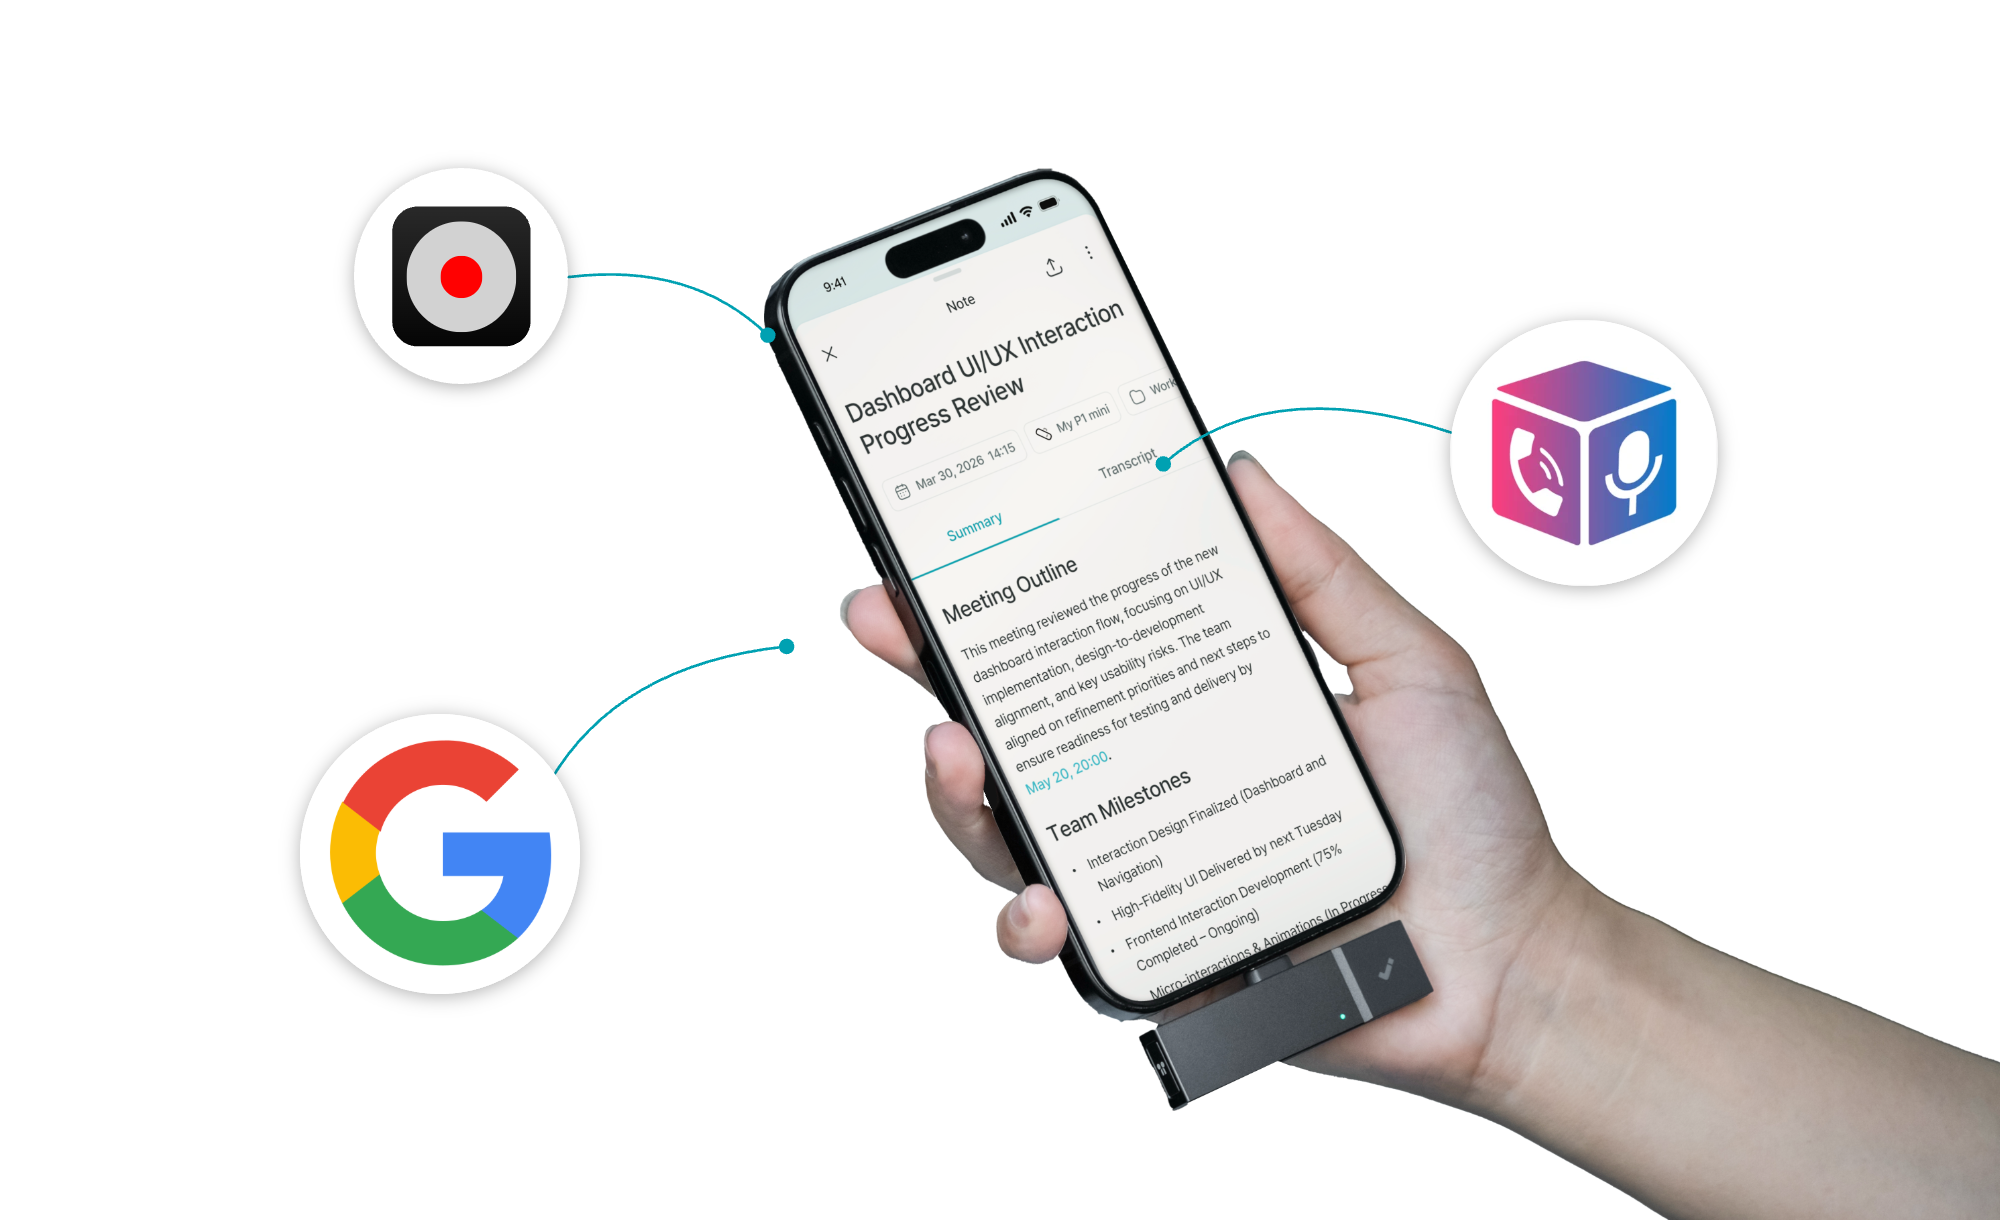
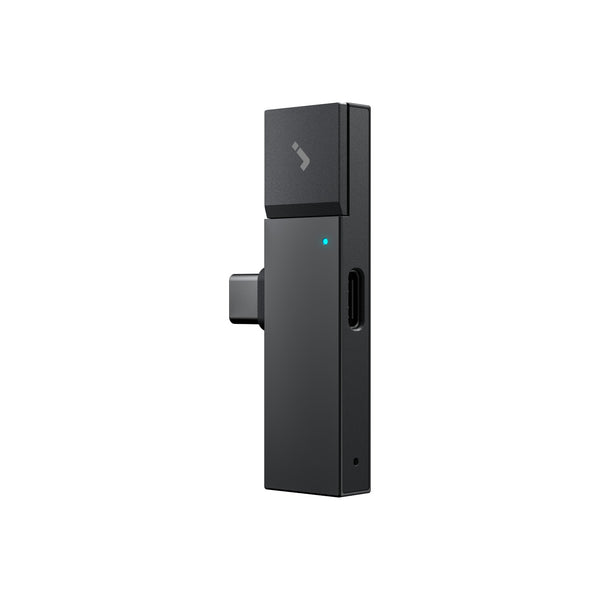
HiDock P1 connects directly to your computer through USB-C and pairs with compatible Bluetooth earphones through BlueCatch™. When P1 is selected as both the microphone and speaker in Zoom, it can capture both sides of the meeting audio without joining the call as another attendee.
After the meeting, you can transfer the recording to HiNotes for transcription, summaries, and searchable notes.
At a Glance
Connect HiDock P1 ($169) to your computer through USB-C, pair your Bluetooth earphones through BlueCatch™, select HiDock P1 as both the Zoom microphone and speaker, obtain permission from everyone involved, and start recording from the P1 touch-control cable.
Why P1 Is Different
Unlike an AI meeting bot, P1 does not join your Zoom call. It captures both sides through your Bluetooth earphones via BlueCatch™, stores the recording on its 64GB local storage, and turns the audio into searchable transcripts and summaries afterward.
P1 includes lifetime free AI transcription in 75 languages, with no required transcription subscription. The 600mAh battery supports up to 8 hours of continuous recording per charge. Basic AI summaries are included, while some advanced features require an optional upgrade.
Important: Recording without a bot does not mean recording secretly. P1 does not trigger Zoom’s native recording notification, so you must inform participants yourself and follow applicable laws, company policies, and meeting rules.
Disclosure: This article was written by the HiDock team, the company behind HiDock P1. We explain where P1 fits well and when Zoom’s native recording tools may be the better option.
What You Need
Before starting, prepare:
- A HiDock P1
- The P1 USB-C touch-control cable
- A Windows or Mac computer
- Bluetooth earphones
- Google Chrome or Microsoft Edge for the HiNotes setup
- The Zoom desktop application
- Permission from the meeting host and participants
Connection requirement: P1 connects to the computer through USB-C. Bluetooth is used between P1 and your earphones. P1 does not connect wirelessly to the laptop for this workflow.
Why BlueCatch Matters
A conventional voice recorder placed beside a laptop may not capture remote participants clearly when you are listening through earphones.
BlueCatch keeps the meeting audio in your earphones while allowing P1 to capture the incoming and outgoing audio paths.
This is particularly useful in shared offices, coworking spaces, airports, or anywhere playing a meeting through laptop speakers would be disruptive.
How to Record a Zoom Meeting Without a Bot Using HiDock P1
1. Connect P1 to Your Computer
Connect P1 to your Windows PC or Mac using the supplied USB-C touch-control cable.
Before an important meeting, check that:
- The USB-C connection is secure.
- The device firmware is up to date.
2. Open HiNotes and Associate P1
For the initial setup:
- Open Google Chrome or Microsoft Edge
- Visit hinotes.hidock.com.
- Sign in to your HiNotes account.
- Select the P1 device icon.
- Follow the instructions to associate the device.
HiNotes is browser-based, so you do not need to install a conventional Zoom recording program on your computer.
It manages your P1, recordings, transcripts, and notes, but it does not join your Zoom call.
For future meetings:
- Connect HiDock P1 to your computer using the USB-C cable.
- Open HiNotes.
- Click Connect Device.
- Select the previously paired HiDock P1 device.
- Confirm the connection.

3. Pair Your Bluetooth Earphones Through BlueCatch™
BlueCatch™ is HiDock's proprietary technology for connecting P1 to your Bluetooth earphones — it routes the meeting audio through the earphones while P1 records both sides.
To pair your earphones for the first time:
- Open Configuration.
- Find the BlueCatch™ section.
- Select Scan.
- Put your earphones into pairing mode.
- Select them when they appear.
- Confirm the connection.

When BlueCatch™ connects successfully, the P1 power light turns blue. You may also hear a "BlueCatch Connected" voice prompt.
For future meetings, P1 can reconnect to previously paired earphones automatically. If it does not reconnect, briefly press the BlueCatch™ button.
4. Select HiDock P1 in Zoom
Open the Zoom desktop application and go to:
Settings → Audio
Select HiDock P1 for both:
- Speaker
- Microphone
This step is essential.
If Zoom uses the laptop microphone, laptop speakers, or the Bluetooth earphones directly, P1 may not receive the complete two-way audio stream.

5. Tell Participants You Are Recording
Before recording, clearly inform everyone and obtain permission.
Zoom’s native recording feature normally displays a recording notification or consent message. Because P1 is an external hardware recorder and does not use Zoom’s Record button, you should not rely on Zoom to disclose the recording for you.
Unlike AI meeting bots that join the call as an additional participant, HiDock P1 allows you to keep control over the recording process. The original audio is stored locally on P1’s 64GB storage before you choose to transfer it to HiNotes for transcription and AI summaries.
This can be useful for sensitive meetings, such as client calls, interviews, or internal discussions, where minimizing third-party access and maintaining control over meeting recordings are important.

6. Start Recording
Press and hold the control on the P1 USB-C touch-control cable to begin recording.
In Call Mode, P1 captures:
- Your voice through the Bluetooth earphone microphone
- The remote participants’ audio routed from Zoom
The cyan recording light indicates that recording is active.
You can continue using Zoom normally while P1 records the audio.
7. Mark Important Moments
VoiceMark is a timestamped bookmark you create during a recording by pressing the HiDock key once. When HiNotes processes the recording, VoiceMark moments are surfaced in the transcript so you can jump directly to flagged sections—without scrubbing through the full audio.
Use VoiceMark during the conversation to flag moments you want to review later, such as:
- A final decision
- A customer requirement
- A project deadline
- A pricing discussion
- An assigned task
- A follow-up commitment
VoiceMark makes it easier to find key moments without replaying the entire meeting.

8. Stop and Confirm the Recording
At the end of the meeting, press and hold the touch control again to stop recording.
Stop the recording before disconnecting P1.
9. Transfer and Transcribe the Meeting
Open HiNotes and transfer the recording from P1.
- Open the Files section in HiNotes.
- Select the audio recording you want to transfer.
- Click Transfer.
- Wait until the recording appears in your HiNotes notes library.
If you regularly transfer recordings after meetings, you can enable Auto Transfer in the P1 configuration settings. This allows recordings to be transferred automatically when P1 connects to HiNotes, reducing the need to manually select files each time.

After the recording has been transferred:
- Go to the Notes section in HiNotes.
- Select your latest meeting note.
- Click Generate Transcript.
- After transcription is complete, click Generate Summary.

HiNotes converts the recorded conversation into searchable text and AI-generated meeting notes, helping you quickly review key discussions, decisions, and follow-up actions.
How P1 Captures Both Sides of a Zoom Meeting
The workflow contains two audio directions.
Remote Participant Audio
Zoom → USB-C → HiDock P1 → Bluetooth earphones
The remote participants’ voices travel from Zoom through the computer’s USB-C connection to P1, then from P1 to your earphones.
Your Voice
Earphone microphone → Bluetooth → HiDock P1 → USB-C → Zoom
Your voice travels from the earphone microphone to P1 through BlueCatch™, then from P1 to Zoom through USB-C.
Local Recording
P1 captures both audio paths and saves the recording to its 64GB local storage.
The recording is not automatically uploaded simply because the meeting is taking place. You decide when to transfer it to HiNotes for transcription and summarization.
Common Setup Problems
P1 Does Not Appear in Zoom
P1 appears as a microphone and speaker after the Bluetooth earphones have connected successfully through BlueCatch™.
Try this:
- Confirm that P1 is connected to the computer through USB-C.
- Turn on the Bluetooth earphones.
- Briefly press the BlueCatch™ button.
- Wait for the P1 power light to turn blue.
- Reopen Zoom’s audio settings.
- Select HiDock P1 as both the speaker and microphone.
Only One Side Was Recorded
The most common cause is an incorrect Zoom audio setting.
Check that HiDock P1—not the laptop microphone, laptop speakers, or earphones directly—is selected for both Zoom audio fields.
Audio Plays Through the Laptop
Confirm that BlueCatch™ is connected, the P1 light is blue, and HiDock P1 is selected as the Zoom speaker.
Also check that your operating system has not switched to another output device.
The Earphones Reconnected to a Phone
Some earphones automatically reconnect to a previously paired phone.
Temporarily disconnect them from the phone, place them in pairing mode, and reconnect them to P1 through BlueCatch™.
HiNotes Does Not Load Correctly
HiNotes requires Google Chrome or Microsoft Edge. Safari is not supported—if you are on a Mac and using Safari as your default browser, open Chrome or Edge and go to hinotes.hidock.com from there. The HiNotes app will not function correctly in Safari.
HiDock P1 vs Other Ways to Record Zoom
HiDock P1 is not the only way to record a Zoom meeting without a bot.
The best method depends on whether you need searchable audio notes, a complete video replay, automatic attendance, or screen capture.
Comparison of methods for recording a Zoom meeting without a bot
| Method | Joins as participant | Records video | Audio-only notes | Subscription cost | Works offline | Best for |
| HiDock P1 | No | No | Yes—transcript + summary | $169 one-time hardware; transcription free for life | Network needed only for HiNotes sync |
Searchable audio notes, no bot, local control |
| Zoom native recording | No | Yes | No | Yes (local); Cloud storage requires paid plan | No | Full video replay, shared screens, chat history |
| AI meeting bot | Yes | Varies | Yes—transcript + summary | Typically $10–$30+/user/month | No | Automatic attendance, calendar integration |
| Screen recorder | No | Yes | No | Free (OS built-in) or varies by app | Yes | Visual capture, screen-share demonstrations |
Need searchable Zoom notes without adding another participant?
HiDock P1 combines a direct USB-C connection, BlueCatch™ Bluetooth-earphone recording, local storage, and unlimited transcription.

Beyond Zoom
P1 also works with Microsoft Teams, Google Meet and other supported communication platforms when selected as the computer’s microphone and speaker.
Its recording modes extend the device beyond laptop meetings:
- Call Mode captures both sides of supported online meetings and calls while you use compatible Bluetooth earphones.
- Room Mode records in-person meetings, interviews, lectures, and conversations through P1’s two built-in Ø6mm ECM microphones.
- Whisper Mode captures quick personal ideas, reminders, and voice notes.
The same device can therefore support remote meetings, in-person conversations, and personal note capture.
P1 or P1 mini?
HiDock P1 mini now records laptop meetings as well, so both devices support the workflow described above. The main differences are hardware and storage.
HiDock P1: two Φ6mm ECM microphones and 64GB of local storage the stronger choice when you also record in-person rooms, interviews, and long sessions. Supports Call Mode, Room Mode, and Whisper Mode.
HiDock P1 mini: one Φ4mm ECM microphone and 32GB of local storage at $119—the lighter, lower-cost option if most of your recording happens on calls. Supports Call Mode and Room Mode only; Whisper Mode is not available on the P1 mini.
Both connect over USB-C, pair with Bluetooth earphones through BlueCatch™, and use the same HiNotes transcription workflow.
Who Is P1 Best For?
P1 is a strong fit when:
- You regularly use Bluetooth earphones for Zoom calls.
- You do not want an AI bot in the participant list.
- Your priority is searchable audio notes rather than video.
- You switch between multiple meeting platforms.
- You want direct control over when recording begins and ends.
- You prefer local storage before transferring the audio.
- You cannot or do not want to install third-party meeting software.
- You want one device for online meetings, in-person conversations, and personal ideas.
Typical users include sales representatives, consultants, recruiters, researchers, project managers, remote professionals, and multilingual teams.
When Zoom Native Recording Is Better
HiDock P1 is designed for audio-first meeting notes.
Use Zoom’s native computer or cloud recording instead when you need participant video, shared screens, chat history, visual demonstrations, poll results, or a complete meeting replay.
Frequently Asked Questions
Can I record a Zoom meeting without adding a bot?
Yes. You can use Zoom’s native recording, an authorized screen recorder, or dedicated hardware such as HiDock P1.
P1 records the audio routed through the device and does not join the meeting as a participant.
Can I use P1 if I am not the Zoom host?
Technically yes, P1 does not use Zoom’s native Record control, so it does not depend on host permissions
However, that does not override the host’s rules, company policies, or participant consent requirements. Obtain permission and never use P1 to bypass a host’s decision not to allow recording.
Will P1 appear in the participant list?
No. P1 connects as an audio device rather than a meeting attendee.
Does P1 record both sides of the meeting?
Yes, when P1 is connected through USB-C, BlueCatch™ has connected the earphones, and P1 is selected as both the Zoom microphone and speaker.
Does P1 record video or screen sharing?
No. P1 records audio.
Use Zoom’s native recording when you need video, shared screens, chat, or a complete visual replay.
Does P1 work with AirPods?
Yes. AirPods and other compatible Bluetooth earphones can be paired with P1 through BlueCatch™.
Will Zoom notify participants when I use P1?
No automatic Zoom recording notification should be assumed because P1 does not use Zoom’s native recording feature.
Inform the host and participants directly before starting.
Is P1 transcription free?
Yes. Transcription is included at no extra cost: unlimited AI transcription in 75+ languages with no separate transcription subscription. Basic summaries are included, while some advanced features require an optional upgrade.
Does P1 work only with Zoom?
No. P1 also works with Microsoft Teams, Google Meet, and other supported platforms. Room Mode and Whisper Mode also support in-person recording and personal voice notes.