



If you host on Zoom, Teams, or Google Meet and only need video meetings, use the platform’s own recording — it is free and already approved. If you record only on a laptop and cannot buy hardware, use a software audio-capture tool, subject to your IT policy. If you record phone calls and in-person conversations as well as meetings, use a dedicated hardware recorder. All three require you to tell participants you are recording.
Many bot-based AI meeting assistants work by joining your call as a visible participant. Their name appears in the participant list. That creates three recurring friction points.
Visibility changes the conversation. In client meetings, sales calls, or sensitive internal discussions, a visible recorder changes how people communicate. Some participants become more guarded. Some clients ask who the bot belongs to and what happens with their data.
Bots only work where they can join. Bot-based tools need a supported platform — typically Zoom, Teams, or Google Meet — running on a computer with an internet connection. Phone calls, in-person conversations, and any meeting on an unsupported platform fall outside their coverage.
Organizational policies sometimes block them. Enterprise IT teams increasingly restrict third-party meeting participants. A tool that works on your personal laptop may be blocked in a client environment.
None of these are universal problems — for many teams and workflows, a bot recorder is exactly the right tool. But they explain why alternatives exist and who reaches for them.
The Three Methods
Method 1 — Native Platform Recording
Zoom, Teams, and Google Meet all have built-in recording. It is the simplest option when it fits.
How it works: Recording is initiated through the platform's own interface. Where the file lands depends on the platform and how the recording was started: Google Drive for Meet, OneDrive or SharePoint for Teams, and either the Zoom cloud or the local machine for Zoom, which supports local recording on free and paid accounts alike. A recording notification is displayed to all participants. In most organizational configurations, recording is restricted to the host or co-host.
Steps:
- Confirm you are the host or co-host, or ask the host to grant recording permission.
- Start the recording from the meeting toolbar — Zoom: Record, then choose local or cloud. Teams: More (…) → Record and transcribe → Start recording. Google Meet: Activities → Recording → Start recording.
- Check that the recording indicator is visible to participants, and say out loud that the meeting is being recorded.
- Stop the recording, then collect the file once processing finishes — in Drive, OneDrive/SharePoint, the Zoom cloud, or your local Zoom folder.
Menu labels and available options vary by platform version, plan, and administrator settings.
What it includes: Video meetings on supported platforms where you are the host or have recording permission. Video, screen shares, and chat history are all captured.
Where it stops: It does not cover phone calls, in-person conversations, or meetings on unsupported platforms. Recording storage, eligibility, captured content, and transcription availability vary by platform, plan, participant role, and administrator settings. A recording notification is shown to participants — there is no silent option.
Best fit: Teams that need recordings automatically saved and shared in a platform the whole organization already uses.
Method 2 — Software-Based Audio Capture
Some tools record system audio directly from your computer rather than joining the call as a participant. The recording happens on your machine.
How it works: A local app or browser extension captures the audio routed through your computer's sound system — what you hear through your speakers or headphones — alongside your microphone. Some tools also process the audio locally; others upload to the cloud for transcription.
Steps:
- On a managed work device, confirm with IT that the capture app or extension is permitted before installing it.
- Grant system-audio and microphone access — macOS: System Settings → Privacy & Security; Windows: Settings → Privacy & security → Microphone.
- Set the meeting microphone and speaker to the devices the capture tool is listening to, so both sides of the call are recorded.
- Start the capture before joining, run a short test recording, and keep the app running for the whole call.
- Tell participants you are recording — no notification is shown on their side.
What it handles: Any meeting running on your computer where you can hear the remote participants through speakers or headphones.
Where it stops: It does not cover phone calls where the audio routes through a phone rather than a computer. It requires software running during the call, which means it depends on the call staying on your machine and the software not crashing or losing focus. In-person conversations are out of scope.On managed work devices, installing a third-party app or browser extension — and granting it access to system audio or the microphone — may be restricted by IT policy or require administrator approval. Some organizations also prohibit local capture or cloud processing of meeting audio. Check your company's security and data-handling policies before use.
Best fit: Professionals who record primarily on a laptop, have permission to run audio-capture software on their device, and want a bot-free note-taker without purchasing hardware.
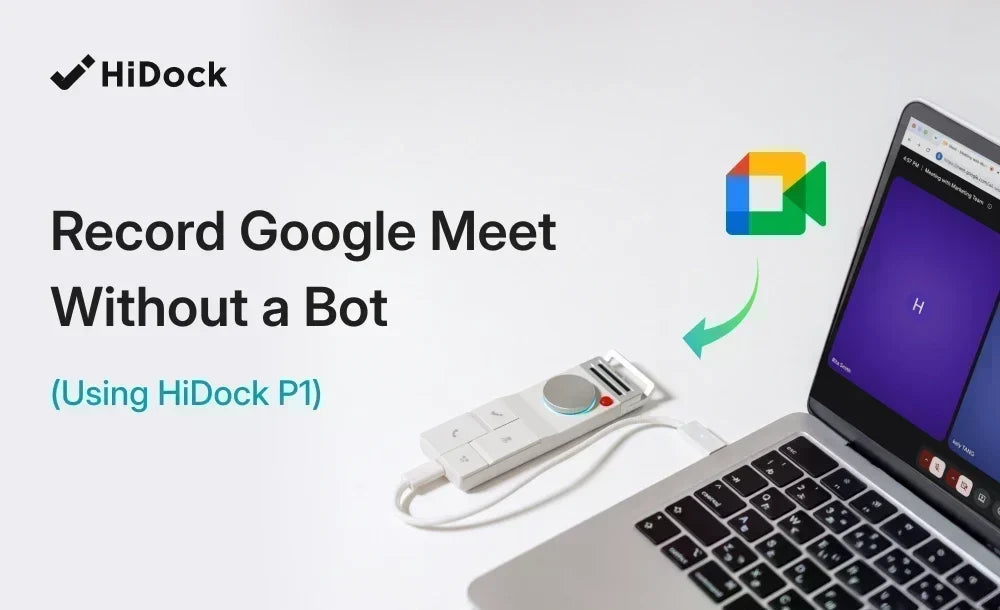
Method 3 — Dedicated Hardware Recording (HiDock P1)
A dedicated AI voice recorder captures audio at the hardware level, independently of any platform or software running on the device.
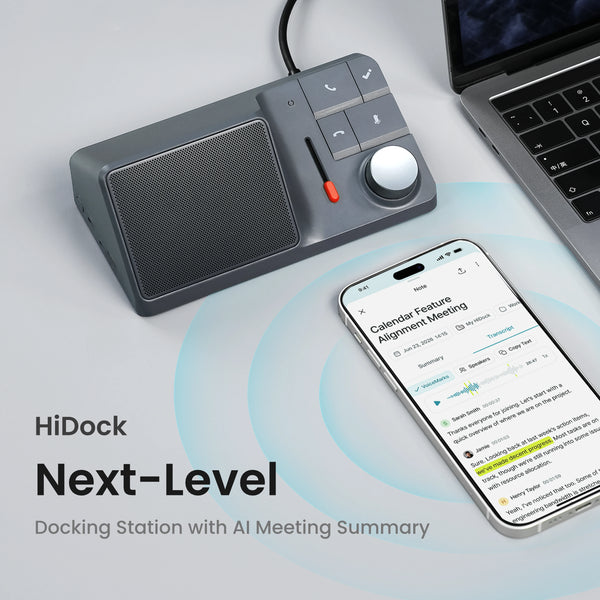
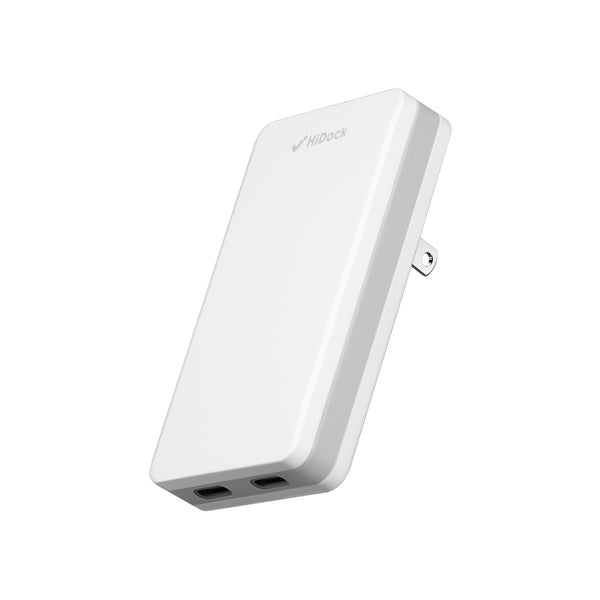
How it works: The HiDock P1 ($169) connects to your computer via USB-C or to your phone's USB-C port and becomes the audio device the meeting platform routes through. P1 can store up to 1,000 hours of recordings locally on the device. Nothing joins the meeting.
What it handles: Phone calls, laptop meetings (Zoom, Teams, Google Meet, and others), and in-person conversations — all from the same device. No cloud connection required during recording.
Where it stops: It captures audio only, not video or screen content.
Best fit: Professionals who record across multiple formats. Users in organizations where bot recorders are restricted. Anyone who wants local-first audio capture with nothing added to the participant list.

How the Three Methods Compare
| Native platform | Software capture | Hardware (HiDock P1) | |
|---|---|---|---|
| Bot in participant list | No | No | No |
| Recording notification shown | Yes — always | No | No |
| Works for phone calls | No | No | Yes |
| Works in-person / room | No | No | Yes |
| Works without a supported platform | No | Partially | Yes |
| Requires software running during call | No | Yes | No |
| Where the file is stored | Cloud or local, depending on platform and how the recording was started — Zoom supports local recording on free and paid accounts | Local audio file on the recording computer | Local on the device; uploaded to HiNotes only when you choose to sync |
| Works offline | No — cloud recording and processing need a connection | Recording yes; transcription depends on the tool | Recording yes; HiNotes transcription needs a sync and a connection |
| AI transcription included | Available on eligible plans with the right administrator configuration (Meet, Teams, and Zoom) | Varies by tool — some local, some cloud | Free with HiNotes — unlimited, 75 languages |
| Video / screen capture | Yes | Varies | No |
| IT dependency | Approved platform feature, but usually restricted to the host or co-host | May require approved software, browser extensions, and system-audio permissions | Device compatibility and your organization's recording policy |
| Cost model | Platform plan | Subscription typically | One-time hardware |
HiDock P1: How the Hardware Approach Works in Practice
Recording modes
The P1 has three recording modes, selected based on the conversation type:
- Call Mode — Bluetooth earphones paired to the P1 via BlueCatch™. Captures both sides of a call through the earphone audio path and the built-in microphone.
- Room Mode — No earphones required. The P1's built-in microphone captures all voices in the room. Suitable for in-person meetings, interviews, and lectures.
- Whisper Mode — For quiet personal notes and reminders. Available on the P1 full version; not available on the P1 mini.
After the meeting
Recordings sync to HiNotes (available at hinotes.hidock.com on Chrome or Edge — Safari is not supported) where AI generates a transcript, meeting summary, and extracted action items.
Every HiDock device purchase includes the HiNotes Member plan free — unlimited AI transcription and summaries in 75 languages, 8 summary templates, VoiceMarks, calendar integration, and 300 Pro minutes per month. HiNotes Pro is an optional upgrade that adds speaker identification, additional templates, and export to Notion, Google Docs, and OneNote. See hinotes.hidock.com for current plan pricing.

HiDock P1 vs. P1 mini
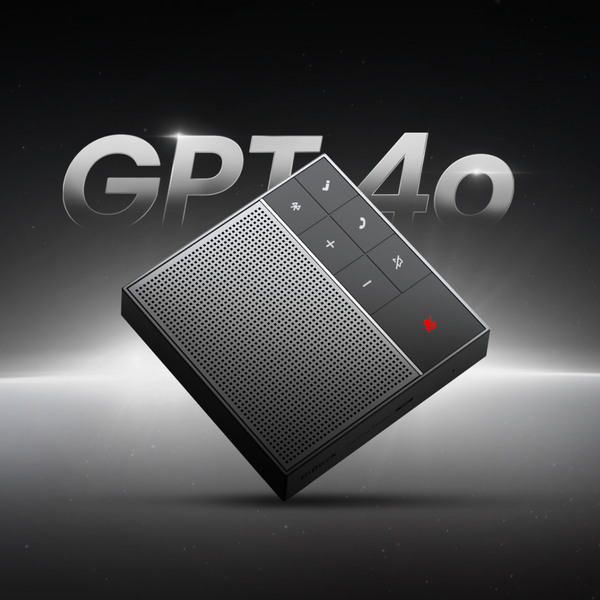
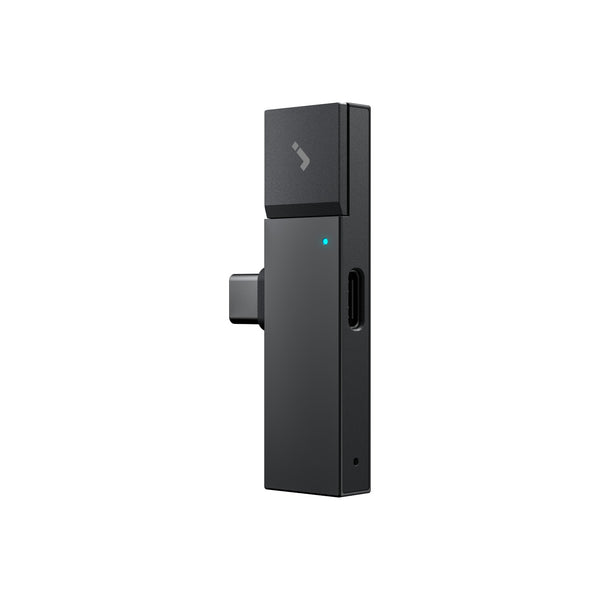
The HiDock P1 mini ($119) covers the same Call Mode and Room Mode workflow in a lighter, phone-first form factor — 12g, plugs directly into a USB-C phone, and can store up to 1,000 hours of recordings. The difference is that Whisper Mode is available on the P1 full version only, and the P1 full version has dual ECM microphones suited to longer in-person sessions. For professionals whose recording is primarily calls on the move, the P1 mini covers that use case at the lower price point.

See the P1 in use:
Consent and Compliance Across All Three Methods
Bot-free recording does not change your obligation to inform participants.
Inform participants before recording and obtain any consent required by your location, your organization's policies, and the meeting rules. When no automatic notification is shown — as with software capture and hardware recording — disclosure is your active responsibility, not an automatic step.
This is general information, not legal advice. Recording requirements are not the same everywhere: what is required depends on the jurisdiction you and the other participants are in, your organization's policies, and the rules of the meeting itself.
A straightforward approach: state at the start of the call that you are recording for your own notes and invite any questions before proceeding.
Frequently Asked Questions
Does a hardware recorder appear in the participant list?
No. HiDock P1 connects as an audio device and does not appear in the participant list or trigger the platform's native recording notification. You are still responsible for informing participants.
Can one device handle both phone calls and video meetings?
Yes, if you use a hardware recorder. HiDock P1 covers phone calls in Call Mode, laptop video meetings (Zoom, Teams, Google Meet), and in-person rooms through Room Mode. Native platform recording and most software tools do not cover phone calls.
Is the recording stored locally or in the cloud?
HiDock P1 can store up to 1,000 hours of recordings locally on the device. Recordings stay on P1 until you choose to sync to HiNotes for processing. Native platform recording goes directly to the cloud.
Do I still need to inform participants if no notification appears?
Yes. The absence of an automatic notification does not change your obligation to disclose. Recording without informing participants may violate applicable laws and organizational policies regardless of how the recording is made.
How does audio quality compare between a hardware recorder and a bot?
Bot-based tools depend on the quality of the audio stream reaching the meeting server. Hardware recording avoids relying on a second bot audio stream and stores the received audio locally. However, any network loss or platform compression already present in the call may still be reflected in the recording.
What is the difference between HiDock P1 and P1 mini for bot-free recording?
Both cover Call Mode and Room Mode and include lifetime free transcription. The P1 ($169) adds Whisper Mode, dual ECM microphones. The P1 mini ($119) is lighter at 12g, plugs directly into a USB-C phone. Neither adds a bot to any meeting.
Summary
Three approaches exist for recording meetings without a bot: Native platform recording captures meetings within supported platforms and displays a recording notice. Software-based capture records audio routed through a compatible computer without adding a participant. Dedicated hardware records audio across laptop meetings, compatible phone calls, and in-person conversations without joining the meeting.
For setup instructions specific to your platform, see:
- How to Record a Zoom Meeting Without a Bot →
-
How to Record a Microsoft Teams Meeting Without a Bot →